Making Pane Carasau: A Traditional Crispy Sardinian Flatbread
Discover how to make this traditional bread found on every Sardinian table.
During my first month-long stay in Sardinia, I have come to appreciate a few defining characteristics of Sardinian culture. The rich history, deep culture, national pride, emphasis on family, and importance of food and wine all make Sardinia so special for me. I have grown accustomed to sitting around the table with Marco, his mom, and dad for pranzo (lunch) and dinner (cena) each day. Taking the time to prepare a meal and eat together makes eating a special occasion. I have also grown accustomed to pane carasau. This traditional bread of Sardinia is more like a large, paper-thin crunchy cracker than any bread you may have in mind. Pane carasau is a staple at the Sardinian table, eaten with practically every meal.
Pane carasau, in fact, is an ancient bread of Sardinia. Literally, ancient. Remnants of the bread and bread-making tools were discovered by archaeologists within the nuraghe stone structures around the island. Meaning pane carasau existed before 1,000 BC! The bread is thought to have been conceived for shepherds who used to stay away from home with their flocks for months at a time.
This impossibly thin crispy bread intrigued me. How was pane carasau so thin? How can it be incredibly crunchy yet not burnt? We had the bread with every meal at Marco’s family home, at every restaurant we dined at, and at the homes of friends and family who invited us over for dinner. I was hooked. I had to know how to make pane carasau!
So we asked Marco’s mom if she would teach me how to make the bread. Thankfully, she said yes. We waited until Marco’s sister was home from Madrid because apparently we needed the extra pair of hands. And did we ever!
Making Pane Carasau
On the last Sunday of 2018, we woke up early and got to work. Mama Pina made sure to tell me how lucky I was to be able to learn the process of making pane carasau. She was right! Mama Pina learned the process from her mother when she was just a little girl. The wooden table we worked on all day has been in the family for 40 years! Crazy to think about the amount of bread that’s been worked over on that table.
Marco remembers all of the grandmas and women waking up at 4am to start mixing and kneading the dough. Working diligently and in focused silence, these women would be making bread into the early hours of the night. We even worked all day with me, Marco, his mom, and sister and didn’t make nearly the same amount of bread as the nonnas in the village. Though luckily, we didn’t have to get started at 4am.
Rather than put together a recipe for pane carasau, I’m going to write the process step by step with photos here. In order to make a true traditional, pane carasau, you need a brick oven heated with an open flame, bread paddles, lots of thick canvas cloth, and more. As you will see, making pane carasau is an extensive process. You might be able to make the bread with a conventional oven, but I definitely don’t think the end result would be the same. The brick oven really gives the bread its signature crunch.
Step 1: Start the Fire
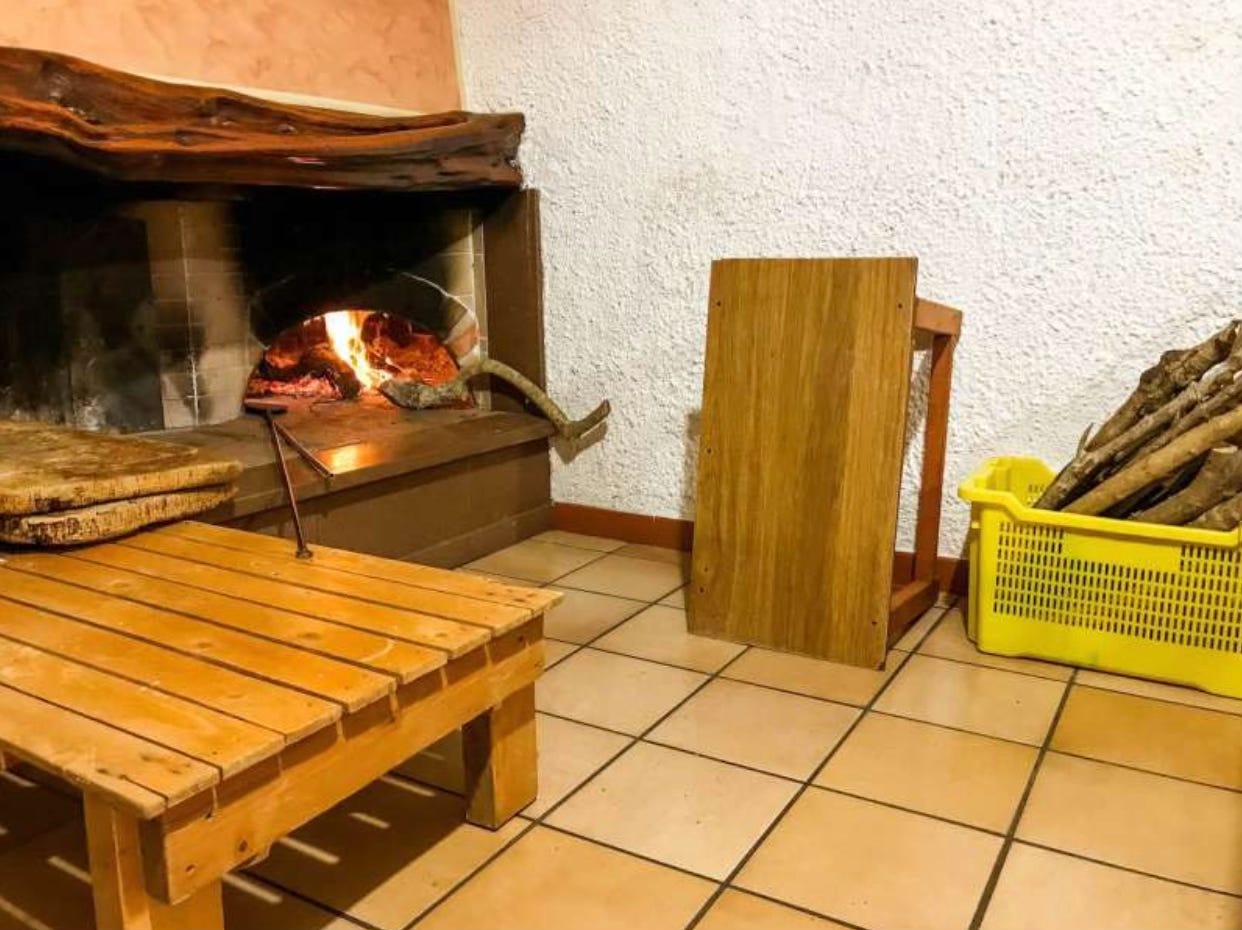
In order for pane carasau to quickly puff up into a ball in the oven (you’ll see why later), then to get crispy and golden brown on the second go around, the oven needs to be really REALLY hot. That means starting the fire in the brick oven as early as possible. Then being sure to keep the flames stoked all day by adding wood as needed. Typically, olive tree branches are used for firewood because the heat level is better maintained at a constant temperature.
Step 2: Mix the Dough
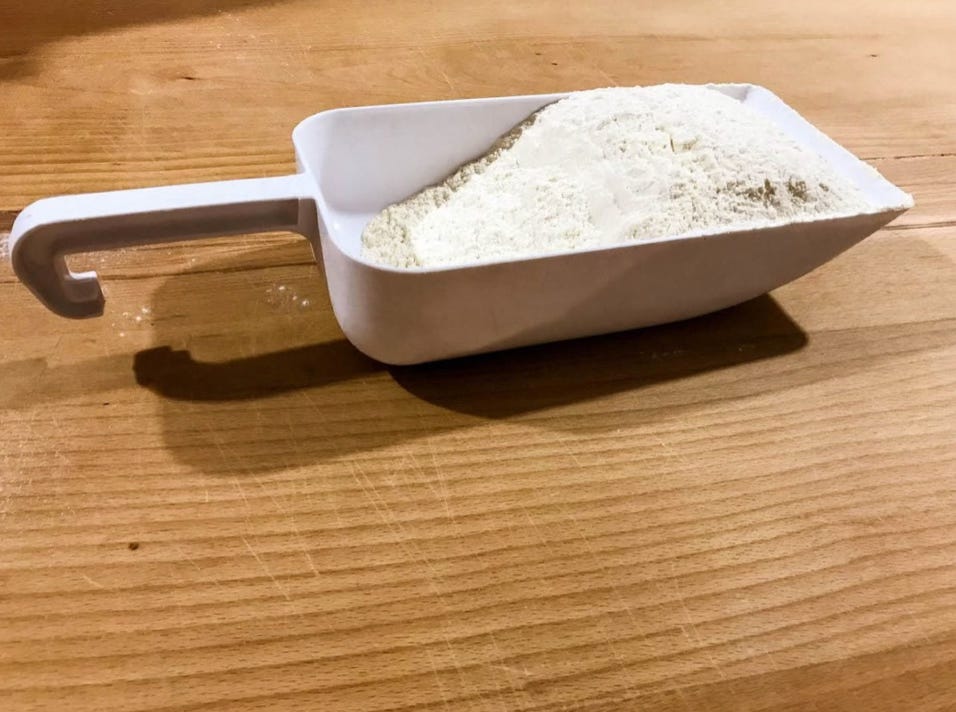
First, heat water in a large pot. You’re going for tepid water, not too hot and not too cold. Mamma Pina said the temperature is probably around 30°C. Two types of flour are used for the dough – regular farina (flour) and semola – at a 2:1 ratio farina to semola. We used the scoop below to measure the flour at 2.5 scoops of farina and 1.25 scoops of semola.
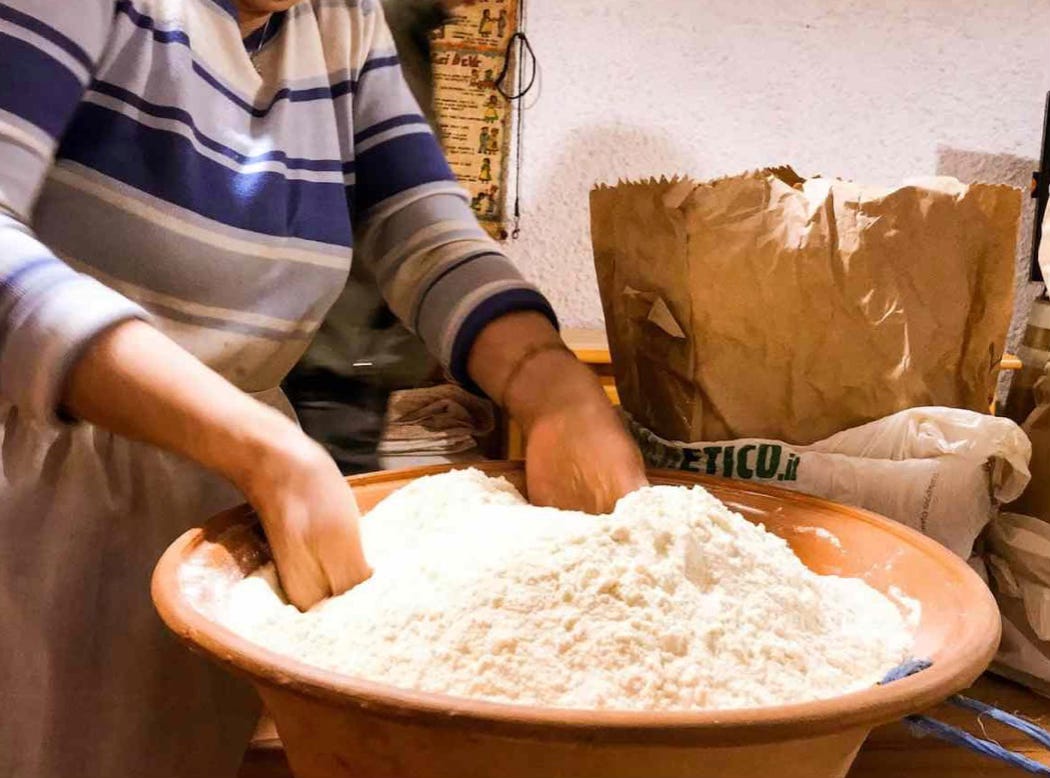
We combined the two flours in a large ceramic bowl. Using her hands, Mamma Pina scooped to the bottom of the bowl and turned over the flour to the top.
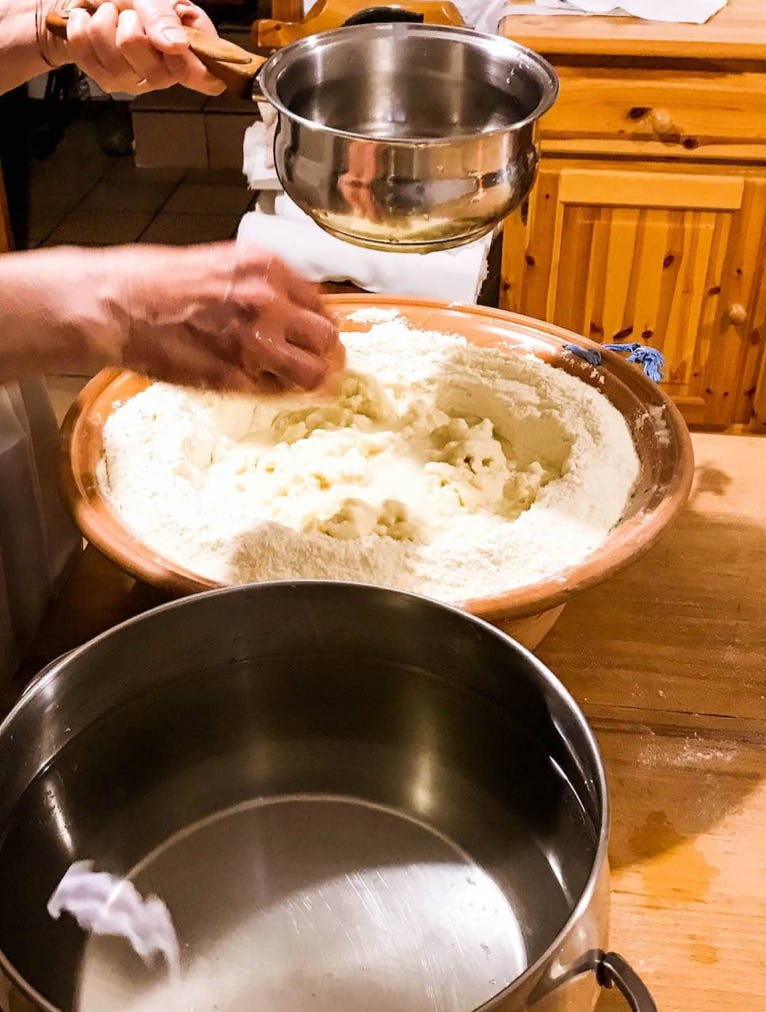
Next, a handful of coarse salt is added to the water. The water should taste quite salty. The tepid salted water gets slowly drizzled over the flour mixture while working to combine the flour and water by hand. Turning the flour over on itself and using a squeezing motion works well.
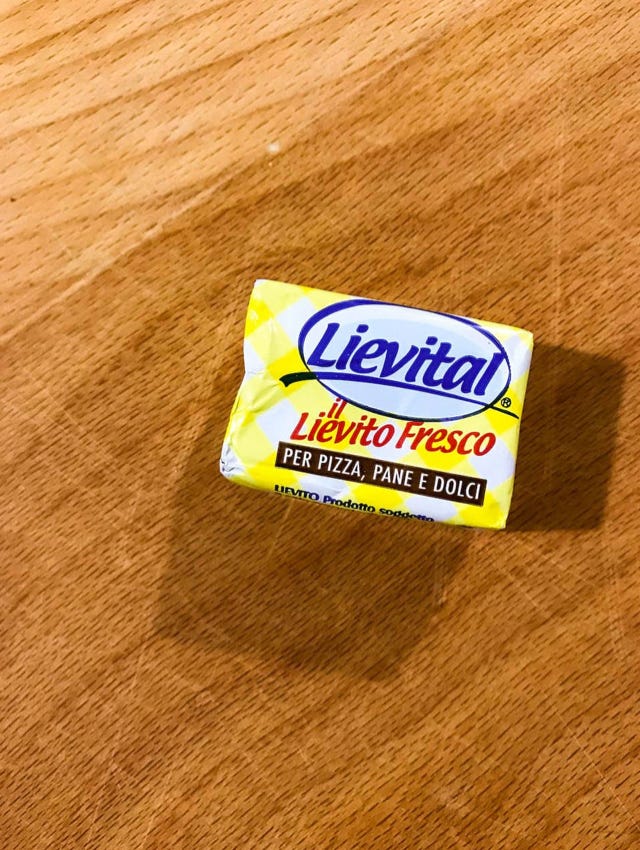
When the flour begins to clump together, the yeast slurry is ready to be thrown into the mix. The key here is to use fresh yeast for bread making.

Once the dough is roughly combined, the kneading begins! First Mamma Pina (and later me) began to knead the dough in the bowl using our fists. Then turned the dough over on itself and repeated. Once combined and starting to become soft, we removed the dough from the bowl and placed it on the floured table. Any time the dough was resting on the table, it was covered with a linen cloth to help the leavening process.
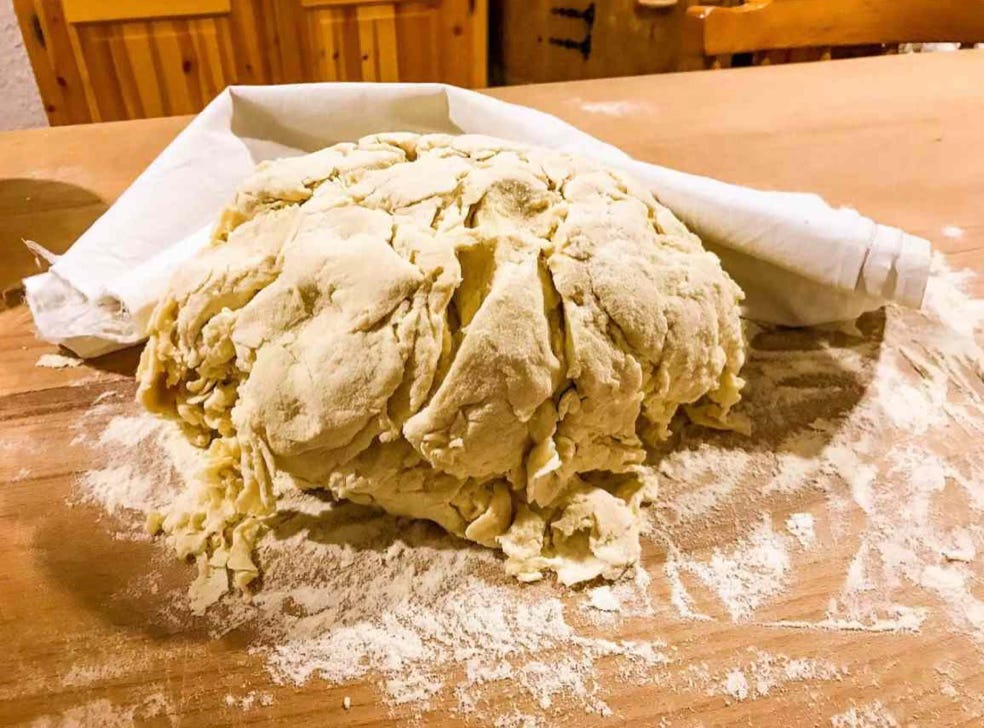
We actually worked in two batches. Once the top half of the bowl was combined well, we removed that half from the bowl and repeated the process with the loose flour on the bottom half of the bowl. Then combined the two large pieces of dough on the table as seen in the photo.
Step 3: Knead, Knead, and Knead Some More
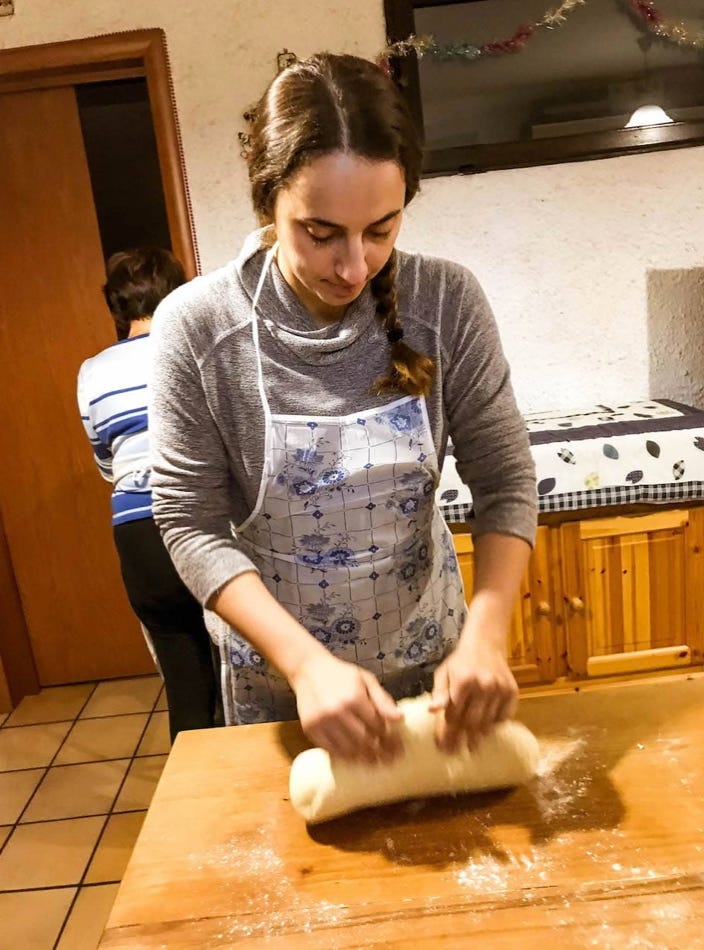
This large mound of dough was then cut into 3 pieces. Each piece of dough was kneaded on the table by hand.
Then, the dough was passed through the bread kneading machine. This machine saves hours of time that would have otherwise been spent kneading the dough. I think the grandmas used to do everything by hand! Each piece of dough went through the machine about five or six times.


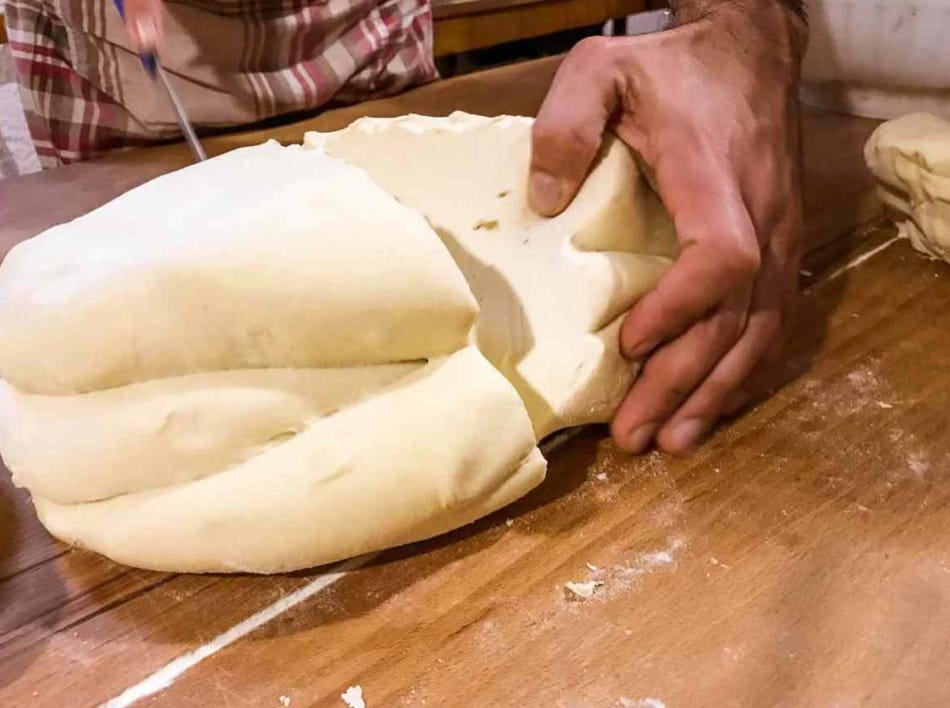
We stacked each piece of dough on top of one another to form a large mound of dough. That mound was cut into three or four pieces. Then we repeated the whole kneading process again.
Step 4: Prepare Dough Balls
We then cut the large mound of soft, smooth dough into five or six pieces. Mamma Pina rolled each piece of dough out into a long, thick cylinder. Then used her hands to break off a fist sized piece of dough, rolling each piece between her palm and the table to form a ball. Each ball was then lightly rolled in a mound of flour on the table.


The excess flour was dusted off of each dough ball. Then we layered the balls of dough into the large ceramic bowl placing a piece of plastic between each layer of dough balls. We covered the bowl with a linen towel once full.
Step 5: Roll Out
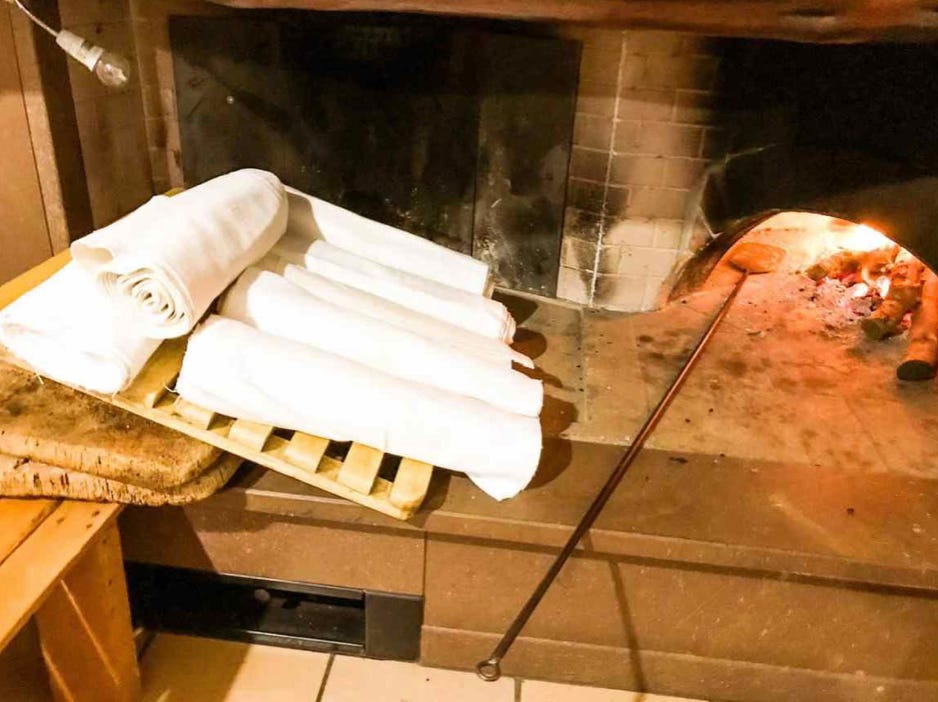
Before we started rolling out each ball of dough, Mamma Pina laid these heavy linen cloths near the fire to warm them a bit.
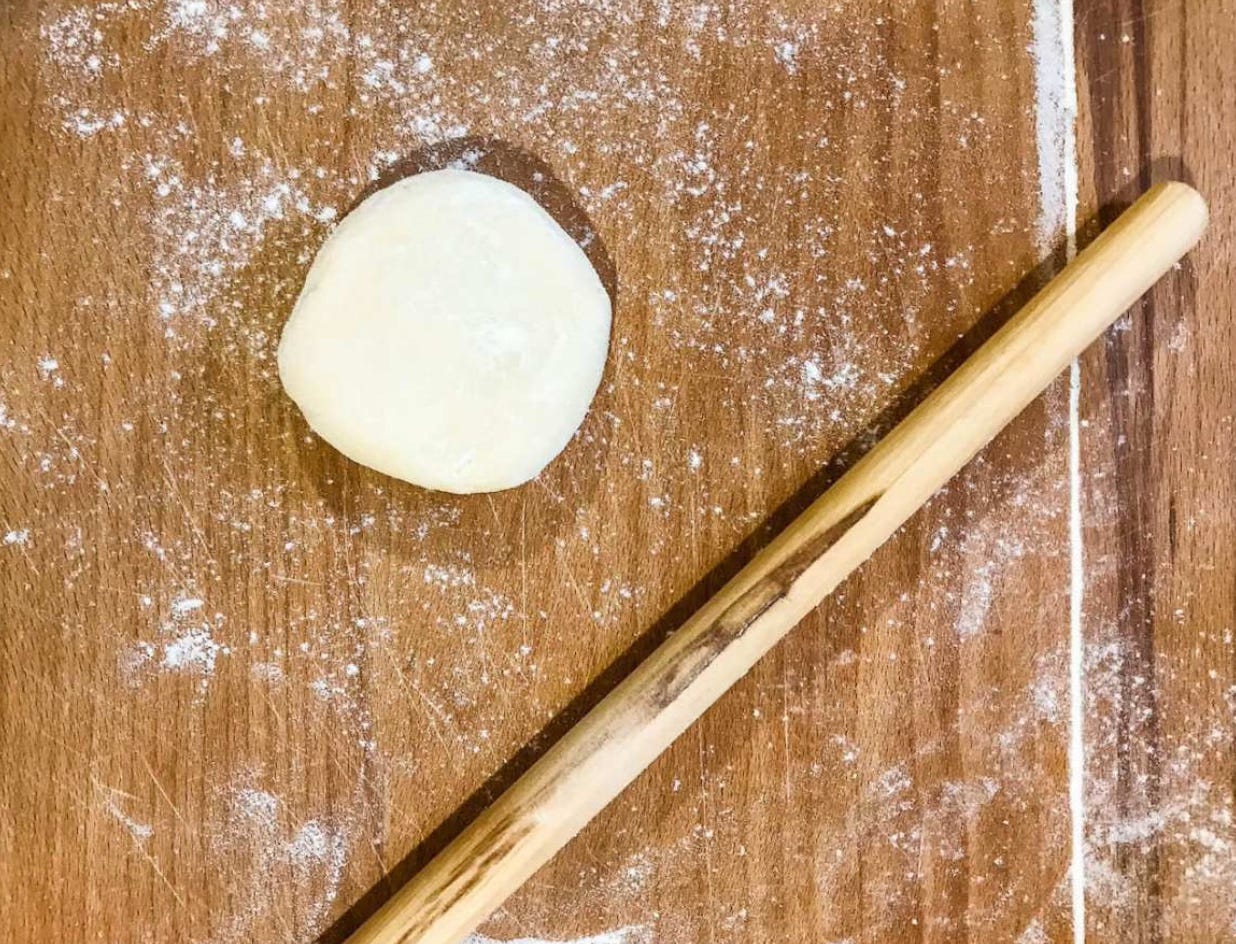
Rolling out each ball of dough definitely requires a certain level of skill. First, each ball gets lightly patted into a small, flat round circle. The table gets a light dust of flour and the flattened ball gets a light dust of flour, too. Definitely don’t want to be heavy handed on the flour dusting. Mamma Pina couldn’t emphasize this enough.
The trick to rolling out a nearly perfect round circle is beginning the process by flattening the ball of dough into a perfectly round shape. Or as close to perfectly round as possible. Then using both hands, one on each end of the small rolling pin, begin to roll the dough out applying even pressure with both hands. Rotate the dough often in order to create an even thickness. Once the circle gets larger and the dough much thinner, fold the circle of dough over the rolling pin to lift and rotate the dough. The table and dough should be lightly sprinkled with flour as needed to prevent the dough from sticking to the table or the rolling pin.


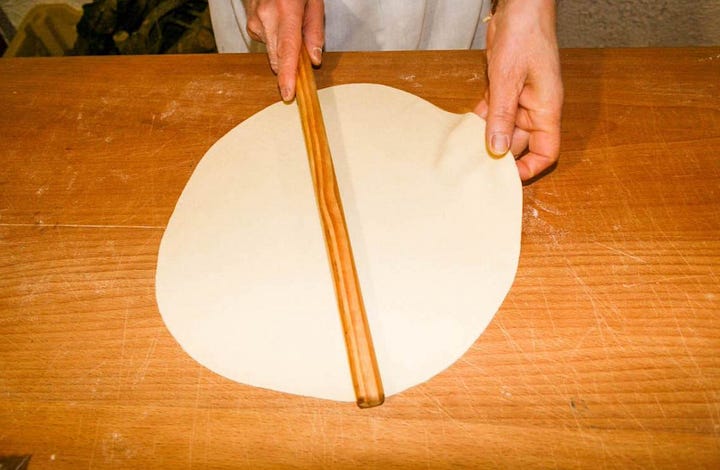
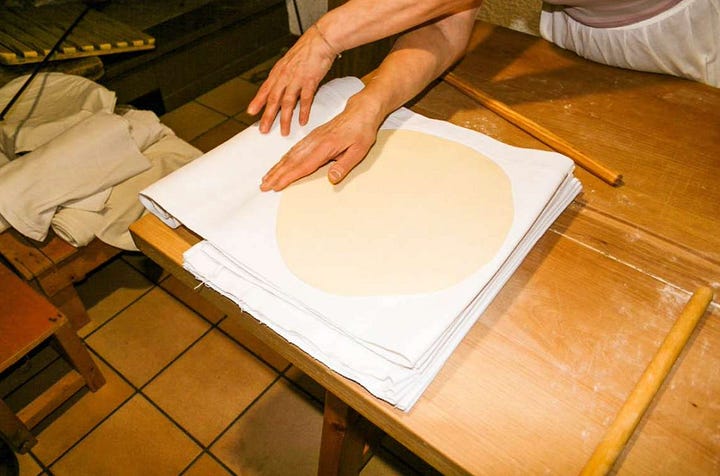
We rolled each ball of dough out into a circle about 13 inches in diameter and 1-2 cm thick. We rolled each piece out as much as we could without damaging the dough and then Mamma Pina finished off each into a perfect thin circle. Mamma Pina said her mom used to hit her hands with the rolling pin if she didn’t roll out the dough into a well-shaped thin circle. I’m guessing this is why she is so efficient at doing so now!
Every piece of formed pane carasau then gets covered with the heavy warmed linen, stacking one piece on top of the next with a layer of linen in between (see photo above).
Step 6: Get Cooking
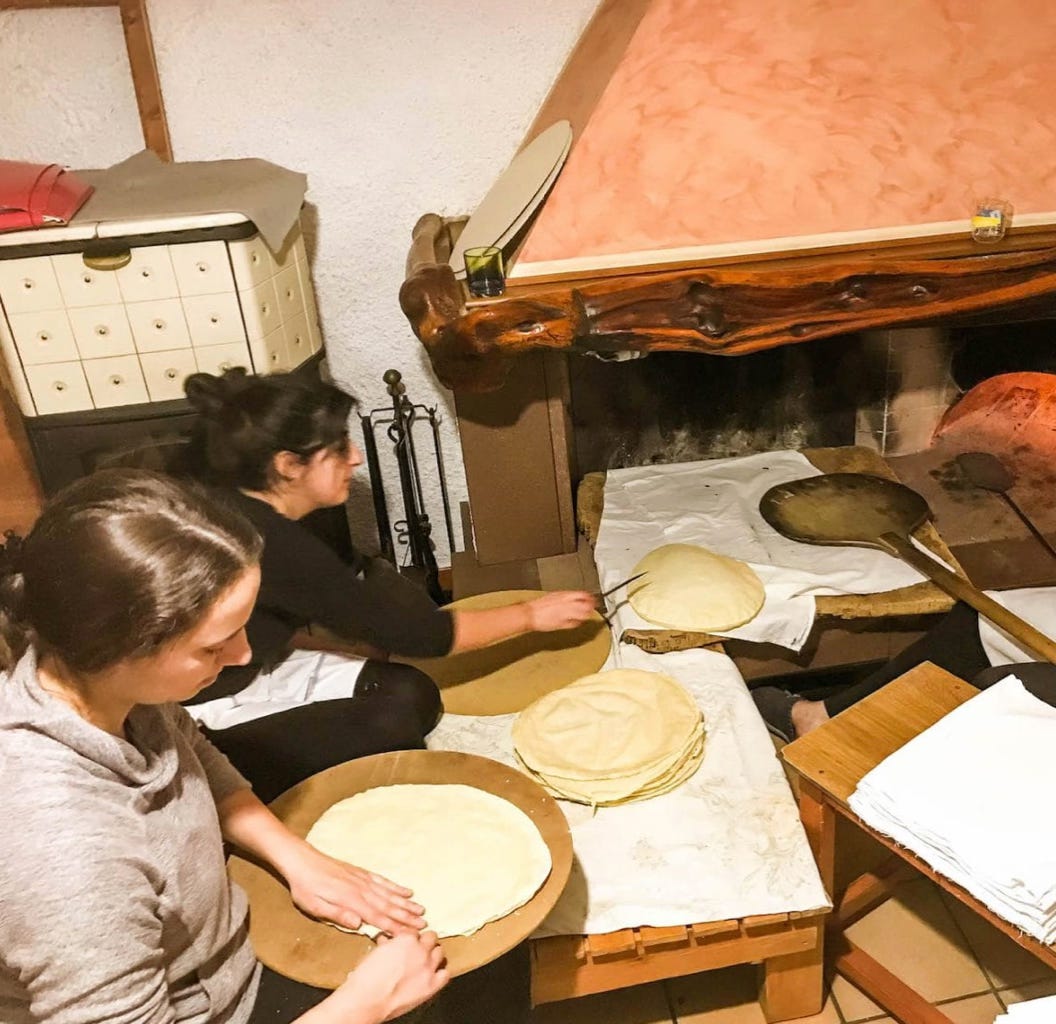
Mamma Pina pushed the burning wood to one side of the brick oven. Lingering embers were put out with a quick slap from a small metal paddle. We watched as Mamma Pina slid each piece of pane carasau off the paddle and into the oven. The heat causes the bread to bubble and puff up. Mamma Pina then uses the smaller metal paddle to press the air throughout the bread so the once flat piece of dough ends up being a ball of dough full of hot air.


Step 7: Cut and Stack
The top and bottom halves of the bread are then separated as soon as the bread is removed from the oven. Working quickly and carefully so as not to be burned by hot air coming out from the bread, we quickly grabbed the bread as soon as Mamma Pina flung it our way. Placing the bread on a large, round piece of cardboard on our laps, we first pressed the remaining hot air out using the flat side of a serrated knife. Then, we cut along the seam of the bread to separate the top and bottom pieces. Each piece was then stacked on top of each other to wait for the second go around in the oven.
Step 8: Return to the Oven
Once all of the bread was cut in half, each of the individual pieces then went back into the oven for a second time to become golden brown and crispy. When the bread was removed from the oven, we stacked the pieces on top of each other. While the bread was still hot, we covered the top piece with cardboard and pressed down gently around the edges to flatten any that might be curling up.


That, my friends, is how you make pane carasau! If the bread is kept dry, pane carasau can last for up to one year. But this delicious, crunchy bread would never last that long in my house.


